LDAP Home Connector
The LDAP Home Connector App provides the ability to mount a user’s windows home directory to their ownCloud instance.
This document assumes the ownCloud Enterprise Subscription has been installed and the app has been downloaded from ownCloud.
Mount home directory in Ubuntu
There are two options to mount the home directory.
This is not persistent across reboots and will need to be entered after each reboot of the Ubuntu server
- #mount –t cifs –o username=<user>,password=<password>,uid=www-data,gid=www-data //<ip>/<directory> <directory>
- #mount –t cifs –o username=ocmount,password=Password01,uid=www-data,gid=www-data //192.168.1.58/share /mnt/share
- #mount –t cifs –o username=<user>,password=<password>,uid=www-data,gid=www-data //<ip>/<directory> <directory>
Modifying the /etc/fstab file will keep the mount across reboots
Add the following line to the fstab file
- //<ip>/<directory>
<directory>
cifs
credentials=<credential file>,uid=33,gid=33
- //192.168.1.58/share /mnt/share cifs credentials=/etc/credentials,uid=33,gid=33
- //<ip>/<directory>
<directory>
cifs
credentials=<credential file>,uid=33,gid=33
Then create a <credential file> with the following
Username=<user>
Password=<password>
/etc/credentials is as follows:

Configure ownCloud
Install the app
ftp the app package (eg enterprise_files_ldap_home-x.y.z.tar.bz2) to the apps directory of your ownCloud instance
Decompress the app package
- tar jxvf enterprise_files_ldap_home-x.y.z.tar.bz2
The decompression creates an enterprise directory – Under the enterprise directory exists the files_ldap_home directory. Move this to up one level
- #cd enterprise
- #mv –R files_ldap_home ..
Login to your ownCloud instance as admin and proceed to the apps page
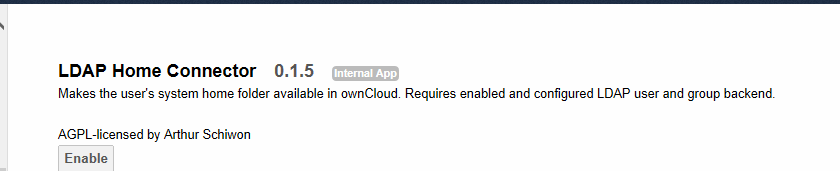
Find the LDAP Home Connector app on the left and select it
Select “Enable”
Configure the App
Navigate to the Admin page and scroll to the “LDAP User Home” section

Fill in the name that you would like to display the folder to the user as in “Display Folder As”
Fill in the attribute name that will contain the homeDirectory. Use any LDAP attribute that is not already in use, In this document we will use the UserSharedFolder attribute.
Select “Save”
Configure the LDAP server
In Active directory, open the user profile
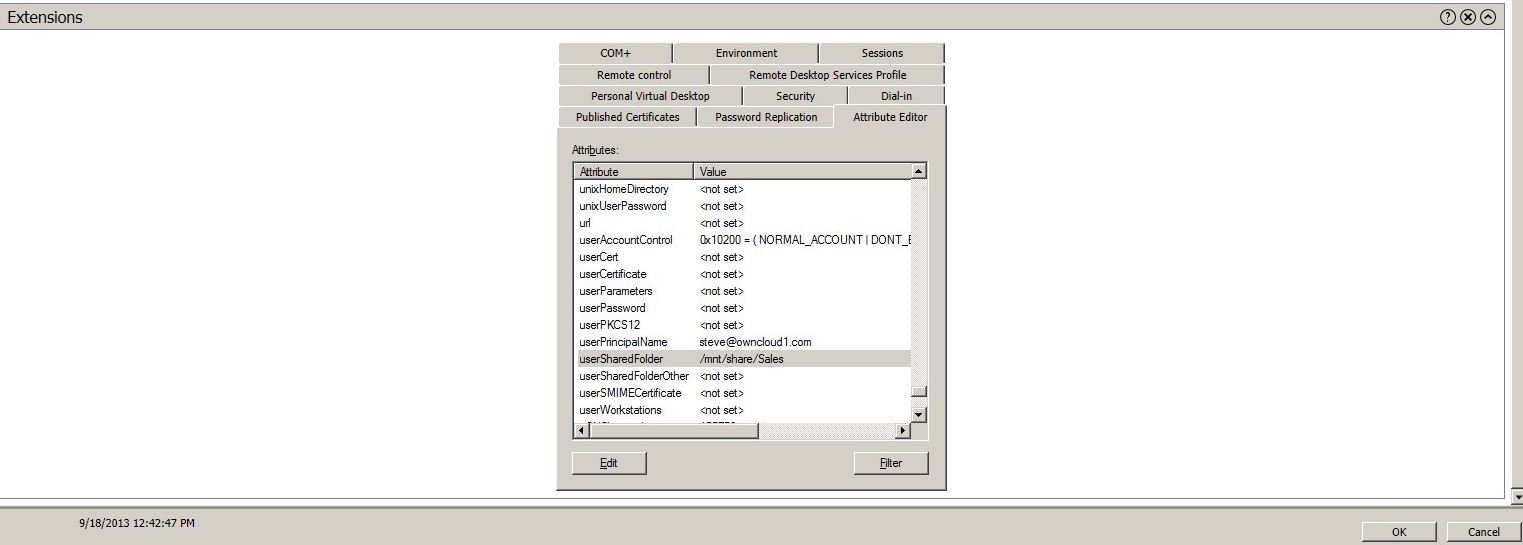
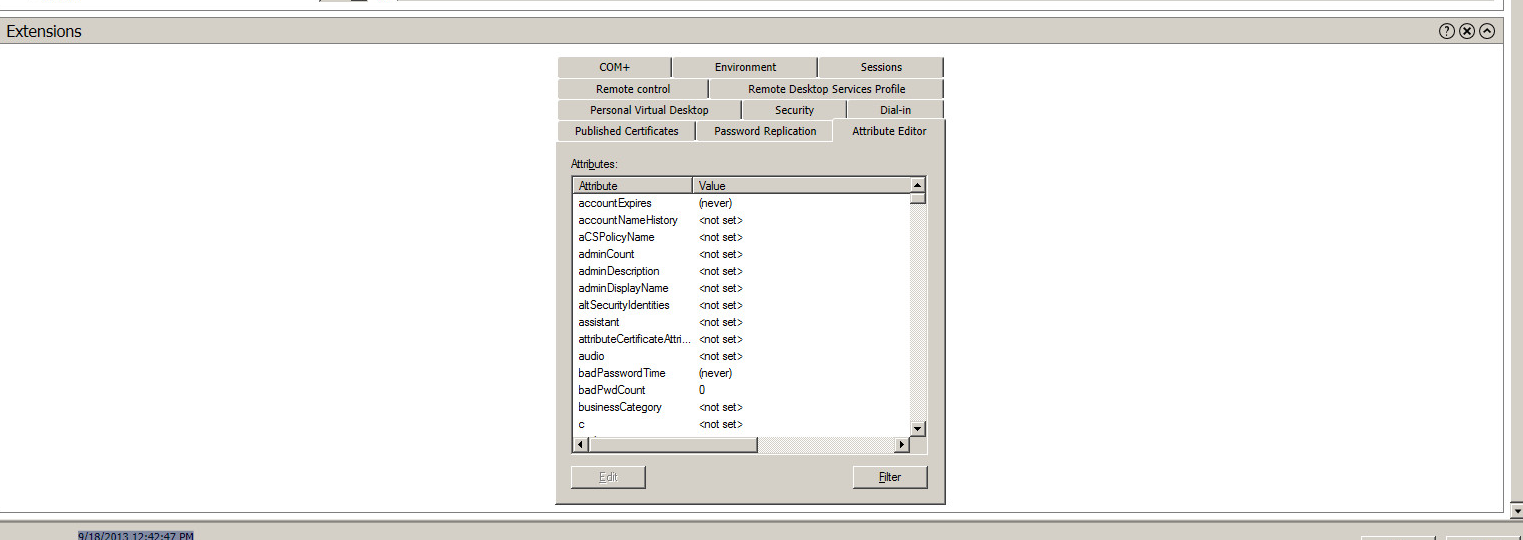
Scroll to the “Extensions” section and select the “Attribute Editor” tab
Scroll to the attribute being used (UserSharedFolder in this instance)
Select Edit
Enter the user’s home directory (from the mount)
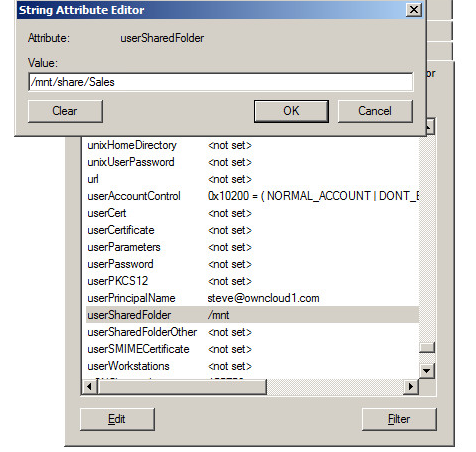
Select OK
Select OK at the bottom of the user page